What is a holiday countdown?
A holiday countdown is a timer on your eCommerce store that is counting down to a specific holiday. In this case it would be letting customers know how many days, hours, and minutes are left until the July 4th weekend, and the end of the big sale your site is having.How to add a holiday countdown
When you are on your dashboard you’ll want to click on the ‘+ Add Widget’ button. This will open a box that shows you all of the possible widgets you can add to your eCommerce site. Search for the widget by typing 'timer' or scroll until you find the one called “Show Countdown Promo Bar’.How to edit and customize the holiday countdown timer
Now comes the fun part-customizing your holiday countdown timer to look and act the way you want it to! The widget is divided into 5 tabs including location, content, design, behavior, and conditions.Location
This tab lets you decide where to show the content in your Shopify pages. You can choose the page or pages for the timer to show on. The default is to show on all store sections, but you can show them only on certain parts of your store if you'd like. The 'Location on page" selector allows you to choose where the holiday countdown will appear. You can use the drop-down to choose for them to appear: right after, right before, beginning of, end of, or replace a certain section on your site. You can select the URL to appear. Hover your mouse on your site and click to choose an element. Once a location is selected your widget will show up in the preview window on the right.Content
This tab lets you choose what content to show to your customers. It allows you to customize a message, add a call to action button, enable/disable a close button, and customize the timer template. For the message we want to let customers know it's a discount for our July 4th weekend sale. Edit the text, but make sure to leave %TIMER% and %DISCOUNT_CODE% alone, as when the widget is live these will populate with the correct information automatically. Enabling or disbaling the close lets you decide whether to add a button to let customers close the banner or not. The timer template can be edited to show only hours, or exclude seconds depending on how you'd like the countdown to appear. You can also enable and disable a time-out message which displays once time is up.Design
The 'Design' tab allows you to edit the appearance of the holiday countdown bar. You can choose pre-designed themes or pick your own colours, font size and so on here. For those store owners with CSS background, or those who have developers they can add their own custom CSS or change the templates to work more specifically for their needs.Behavior
The 'Behavior' tab allows you to set a discount code and either manage it externally or manage it through your eCommerce store. You can also enable/disable the timer portion of the message. Use this tab to set the timer to run to a specific date/time or have a time limit from one a customer first sees it. You can enable or disable the time-out message here and also select the date and time the holiday countdown will run until.Conditions
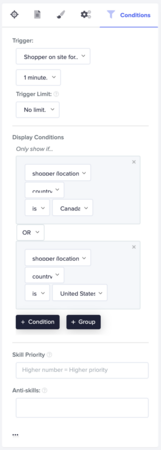
This tab lets you decide when to show your holiday countdown timer. You can set specific triggers and conditions on when to show it. You can have it trigger as soon as a page loads, and limit to only once per hour per shopper if you’d like. Or maybe you only want to show the holiday countdown timer during the week-you can do that here too. You can also set a schedule to run the timer, so that after July 4th the widget becomes deactivated and no longer runs. Simply enable the schedule and set your dates and times for the holiday countdown timer to start and finish. This tab also lets you decide who to show the holiday countdown timer to. You can determine this by the shopper’s location or by their journey on your site. So, for example, for a 4th of July sale, I only want to make it visible to those in the United States.Then anyone from outside of the US wouldn’t see the sale countdown (based on IP address).

A/B testing
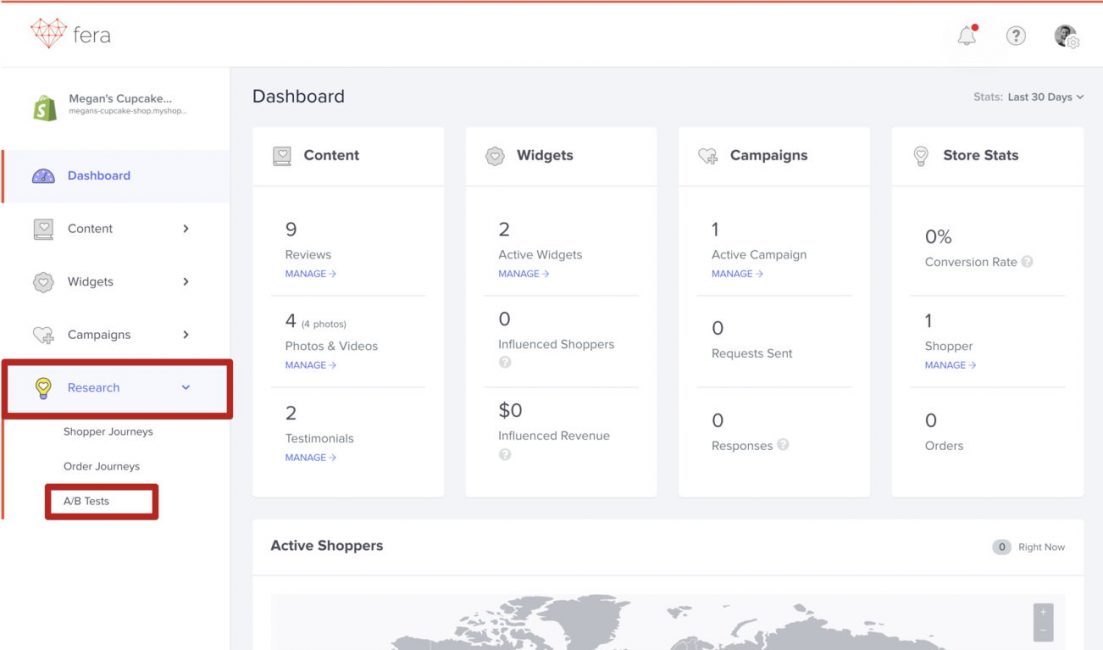
This tab lets you decide if you want to A/B test your new widget. It’ll allow you to enable or disable testing and also determine the percentage split of who to show the content to. The default is a 50/50 split, meaning 50% of the time customers see the testimonials, and the other 50% do not see the testimonials. This data can be used to compare to each other and determine whether the widget is helping you out.
By default, this widget is turned off. You can enable it yourself and also find out more about A/B Testing through this article.


